Toyota Corolla (E120) 2002–2008 Repair Manual / Diagnostics / Combination meter / Seat belt warning lamp for front passenger’s seat
does not flash
Toyota Corolla (E120): Seat belt warning lamp for front passenger’s seat does not flash
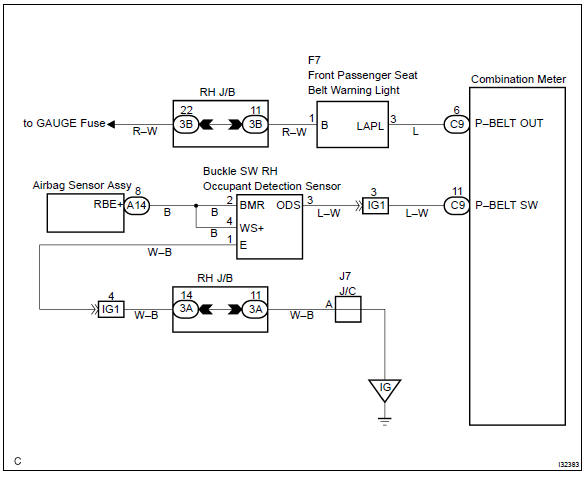
Wiring diagram
Inspection procedure
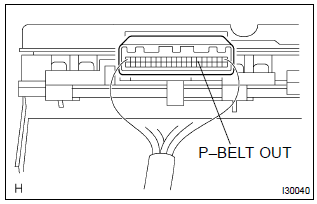
1 Inspect combination meter assy
- Ground terminal c9–11 on the combination meter side.
- check that the warning lightlights up.
Ok: warning light lights up.


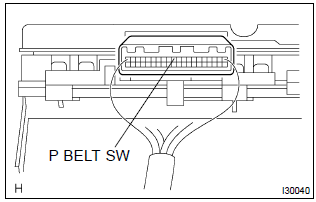
2 Inspect passenger seat belt warning lamp assy
- Ground terminal c9–6 on the combination meter side.
- check that the warning lightlights up.
Ok: warning light lights up.


Check and replace combination meter assy
3 Inspect front seat inner belt assy rh
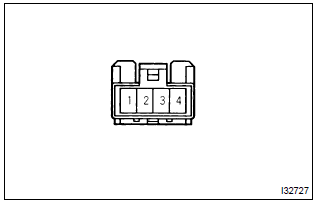
- Check continuity.
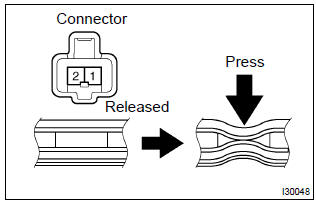
- Disconnect the front seat inner belt assy.
- Check the continuity in between terminals 1 and 2
of front seat inner belt assy rh.
Ok:


4 Inspect separate seat type front seat cushion pad
- Disconnect the separate type front seat cushion pad.
- check continuity separate type front seat cushion pad.


Repair or replace harness and connector


Other materials:
Positioning a floor jack
When using a floor jack, follow the instructions in the manual provided with
the jack and perform the operation safely.
When raising your vehicle with a floor jack, position the jack correctly.
Improper placement may damage your vehicle or cause injury.
◆ Front
◆ Rear
1 Take out ...
Exterior/interior trim
Preparation
Recomended tools
Equipment
Vehicle control system
Preparation
Recomended tools
...
Inspection procedure
1 Check tvip ecu
Check that the operation of the tvip function is normal.
Hint:
with this inspection, the tvip ecu cpu can be diagnosed if it works normally or
not.
2 Check wire harness (tvip ecu integration relay)
Disconnect the tvip ecu and integration relay connectors.
ch ...