Toyota Corolla (E210) 2019-2026 Owners Manual / Vehicle status information and indicators / Gauges and meters (4.2-inch display) / Odometer and trip meter
display
Toyota Corolla (E210): Odometer and trip meter display
■ Changing the display
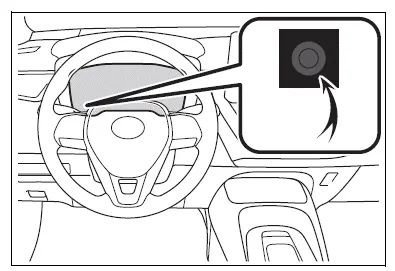
Press the display change button until the desired item is displayed.
■ Display items
- Odometer
Displays the total distance the vehicle has been driven.
- Trip meter A/Trip meter B
Displays the distance the vehicle has been driven since the meter was last reset. Trip meters A and B can be used to record and display different distances independently.
To reset, display the desired trip meter and press and hold the display change button.
Changing the instrument panel light brightness
The brightness of the instrument panel lights can be adjusted.
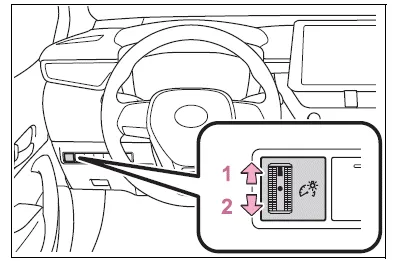
- Brighter
- Darker
■Instrument panel light brightness adjustment
The brightness of the instrument panel lights can be adjusted separately for when the tail lights are on and off.
Adjusting the clock
■ The clocks can be adjusted on the audio system screen.
Refer to "MULTIMEDIA OWNER'S MANUAL".


Other materials:
How to proceed with troubleshooting
Hint:
troubleshooting of the wireless door lock control system is based on
the premise that the power door
lock system is operating normally. Therefore, before troubleshooting the
wireless door lock control system,
first make certain that the the power door lock system is operating
...
Drive shaft / propeller shaft
Preparation
Sst
Recomended tools
Equipment
Lubricant
...
Inspection procedure
1 Inspect shift solenoid valve(sl)
Remove the shift solenoid valve sl.
measure the resistance according to the value(s) in the
table below.
Standard:
Connect the positive (+) battery lead to the solenoid connector
terminal, and the negative (–) battery lead to the
so ...