Toyota Corolla (E210) 2019-2026 Owners Manual / Maintenance and care / Tires / Selecting wheel set (vehicles
with a tire pressure
warning system)
Toyota Corolla (E210): Selecting wheel set (vehicles with a tire pressure warning system)
Your vehicle is equipped with a tire pressure warning system with a function to register two sets of ID codes. This allows for registration of a second wheel set, for example a winter set.
The wheel set can be changed only if a second wheel set has been registered to the system. If a second wheel set has not been registered, it will not be possible to change to the selected wheel set.
ID codes can be registered by yourself.
- Only a change between both registered wheel set is possible, mixing between these wheel sets is not supported.
- While registering ID codes, it may not be possible to change between wheel sets normally. Cancel registration before changing between wheel sets.
 4.2-inch display
1. Install the desired wheel set.
2. Select  of the multi-information
display and then
press
  .
.
3. Press  or
or
 to select
"Vehicle Settings" and then
press
  .
.
4. Press  or
or
 to select
"TPWS setting" and then
press
  .
.
5. Press  or
or
 to select
"Tire Set Switching" and then
press
  .
.
6. Press  or
or
 to select
"Register Valve / ID" and then
press
  .
.
7. Press  or
or
 to select
"Tire Set 1" or "Tire Set 2".
Then press  .
.
8. Select "OK" and then press  .
.
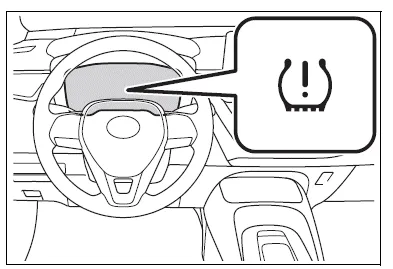
The tire pressure warning light will slowly blink 3 times, a message indicating that change is occurring will be displayed, and the wheel set change will begin.
Wheel set change will begin and the tire pressure warning light will blink for 1 minute and then illuminate.
Also, while the change is being performed, "---" will be displayed for the tire inflation pressure of each tire on the multi-information display.
After approximately 2 minutes, the wheel set change will complete, the tire pressure warning light will turn off, and a completion message will be displayed on the multi-information display.
If changing does not complete after approximately 4 minutes, a message indicating that the change could not be completed will be displayed.
Check which wheel set is installed and perform the change procedure again from the beginning.

9. If the specified tire inflation pressure of the wheel set installed differs from that of the previous set, it will be necessary to perform the tire inflation pressure setting procedure of the tire pressure warning system. If the specified tire inflation pressure is the same, it will not be necessary to perform the tire inflation pressure setting procedure.
10. Register the position of each wheel.
 7-inch display
1. Install the desired wheel set.
2. Select  of the
multi-information
display and then
press
  v.
v.
3. Press  or
or
 to select
"Vehicle Settings" and then
press
  .
.
4. Press  or
or
 to select
"TPWS setting" and then
press
  .
.
5. Press  or
or
 to select
"Tire Set Switching" and then
press
  .
.
6. Press  or
or
 to select
"Register Valve / ID" and then
press
  .
.
7. Press  or
or
 to select
"Tire Set 1" or "Tire Set 2".
Then press  .
.
8. Select "OK" and then press
 .
.
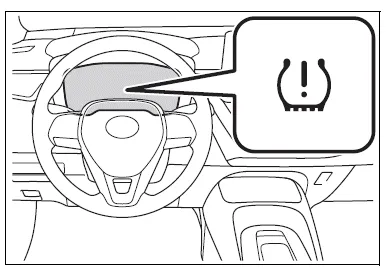
The tire pressure warning light will slowly blink 3 times, a message indicating that change is occurring will be displayed, and the wheel set change will begin.
Wheel set change will begin and the tire pressure warning light will blink for 1 minute and then illuminate.
Also, while the change is being performed, "---" will be displayed for the tire inflation pressure of each tire on the multi-information display.
After approximately 2 minutes, the wheel set change will complete, the tire pressure warning light will turn off, and a completion message will be displayed on the multi-information display.
If changing does not complete after approximately 4 minutes, a message indicating that the change could not be completed will be displayed.
Check which wheel set is installed and perform the change procedure again from the beginning.

9. If the specified tire inflation pressure of the wheel set installed differs from that of the previous set, it will be necessary to perform the tire inflation pressure setting procedure of the tire pressure warning system.
If the specified tire inflation pressure is the same, it will not be necessary to perform the tire inflation pressure setting procedure.
10. Register the position of each wheel.
Other materials:
Overhaul
Notice:
when using a vise, do not over tighten.
When installing, coat the parts indicated by the arrows with power
steering fluid .
1. Remove front wheel rh
2. Drain power steering fluid
3. Remove engine under cover rh
4. Remove fan and generator v belt
5. Disconnect oil reservoir to ...
Correct driving posture
1 Adjust the angle of the seatback so that you are sitting straight up and so
that you do not have to lean forward to steer.
2 Adjust the seat so that you can depress the pedals fully and so that your arms
bend slightly at the elbow when gripping the steering wheel.
3 Lock the head restraint ...
License plate lamp assy
Replacement
1. Remove luggage compartment lock cylinder & key set
2. Remove luggage compartment door garnish outside
3. Remove license plate lamp assy
Pull the license plate light assy to the side of vehicle as
shown in the illustration and release the claw.
disconnect the c ...


