Toyota Corolla (E120) 2002–2008 Repair Manual / Diagnostics / Supplemental restraint system / How to proceed with troubleshooting
Toyota Corolla (E120): How to proceed with troubleshooting
The hand–held tester can be used at step 4, 6, 8 and 9.
1 Vehicle brought to workshop

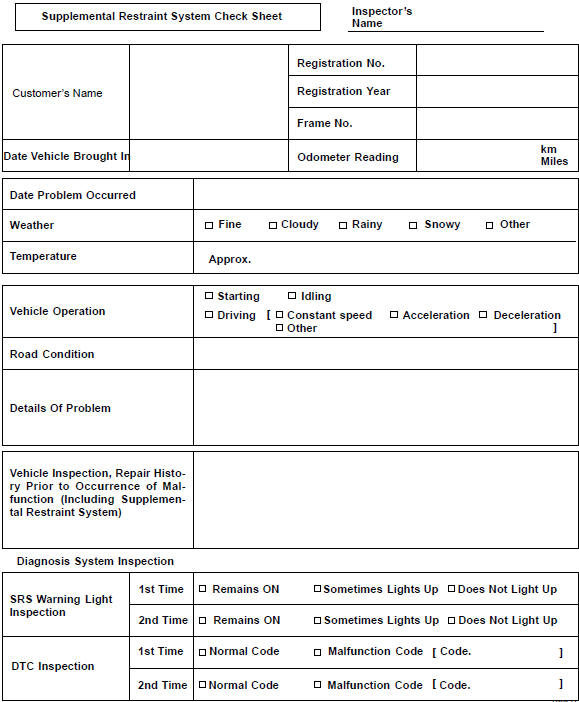
2 Customer problem analysis

3 Warning light check

4 The dtcs check (present and past dtcs)
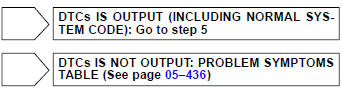
5 The dtcs chart

6 Circuit inspection
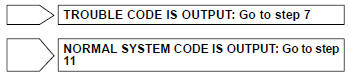
7 Repair

8 Clear the dtcs (present and past dtcs)

9 The dtcs check (present and past dtcs)

10 Symptom simulation

11 Confirmation test
End
Customer problem analysis check


Other materials:
On–vehicle inspection
1. Inspection throttle body idle speed control valve assy
Notice:
it is impossible to check the resister value and the operation
of isc valve by itself, because the isc valve
has an ic circuit inside it, which transforms the duty
signal from the ecm to the derive signal.
After check ...
Stabilizer bar rear
Replacement
Hint: components:
1. Remove stabilizer bar rear
Remove the 2 bolts, nuts and stabilizer bar.
2. Install stabilizer bar rear
Install the 2 bolts, nuts and stabilizer bar.
Torque: 195 nvm (1,990 Kgf·cm, 144 ft·lbf)
Hint:
install the stabilizer bar so that the ...
Canceling and resuming the constant speed control
1 Pulling the lever toward you cancels the constant speed control.
The speed setting is also canceled when the brakes are applied or the clutch
pedal (manual transmission) is depressed.
2 Pushing the lever up resumes the constant speed control.
Resuming is available when the vehicle speed is mo ...