
Toyota Corolla (E120) 2002–2008 Repair Manual / Brake / Brake fluid
Toyota Corolla (E120): Brake fluid
Bleeding
Notice
: wash the brake fluid off immediately if it comes into contact with any painted surface. Hint
: if any work is done on the brake system or if air in the brake lines is suspected, bleed the air from the system.
1. Fill reservoir with brake fluid fluid: sae j1703 or fmvss no. 116 Dot3
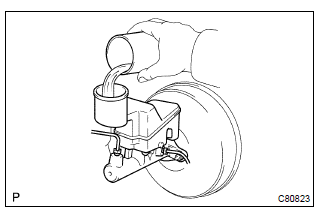
2. Bleed master cylinder
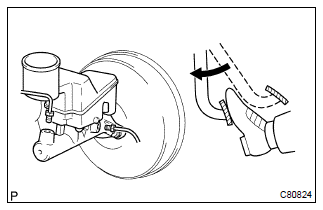
Hint
: if the master cylinder has been disassembled or if the reservoir becomes empty, bleed the air from the master cylinder.
- disconnect the brake lines from the master cylinder.
Sst 09023–00100
- slowly depress the brake pedal and hold it.
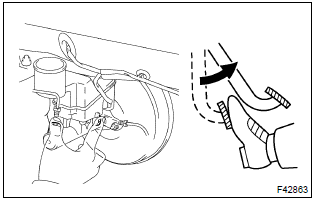
- Block off the outer holes with your fingers, and release the brake pedal.
- repeat (b) and (c) 3 or 4 times.
3. Bleed brake line
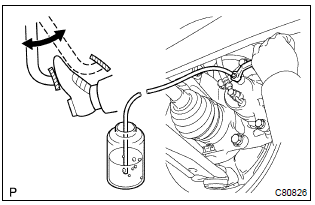
- Connect the vinyl tube to the brake caliper.
- depress the brake pedal several times, then loosen the bleeder plug with the pedal held down.
- at the point when fluid stops coming out, tighten the
bleeder plug, then release the brake pedal.
Torque: 8.3 Nvm (85 Kgf·cm, 74 in.Vlbf)
- repeat (b) and (c) until all the air in the fluid has been bled out.
- Repeat the above procedures to bleed the air out of the brake line for each wheel.
4. Check fluid level in reservoir
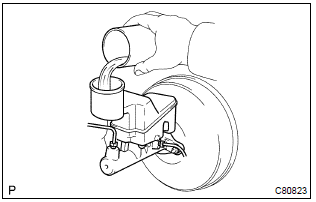
- Check the fluid level and add fluid if necessary.
Fluid: sae j1703 or fmvss no. 116 Dot3


Other materials:
Circuit description
The camshaft position sensor (g22+ signal) consists of a magnet, iron core
and pickup coil.
The g22+ signal plate has 3 teeth on its outer circumference and is installed on
the camshaft timing pulley.
When the camshafts rotate, the protrusion on the signal plate and the air gap on
the pi ...
Calculation formula for your vehicle
1 Cargo capacity
2 Total load capacity (vehicle capacity weight)
When 2 people with the combined weight of A lb. (kg) are riding in your vehicle,
which has a total load capacity (vehicle capacity weight) of B lb. (kg), the available
amount of cargo and luggage load capacity will be C lb. (kg ...
Using the voice command system (Multimedia system)
Voice command system
The voice command system enables the hands-free system to be operated using
voice commands.
Operations of the voice command system can be performed by selecting the menu
corresponding to each function on the screen. Even if any menu is selected, commands
displayed on all ...